
In my last post, Starting Seeds Indoors Pt 1: When?, I covered what plants are best to start indoors and when.
But now, how do we start seeds indoors?
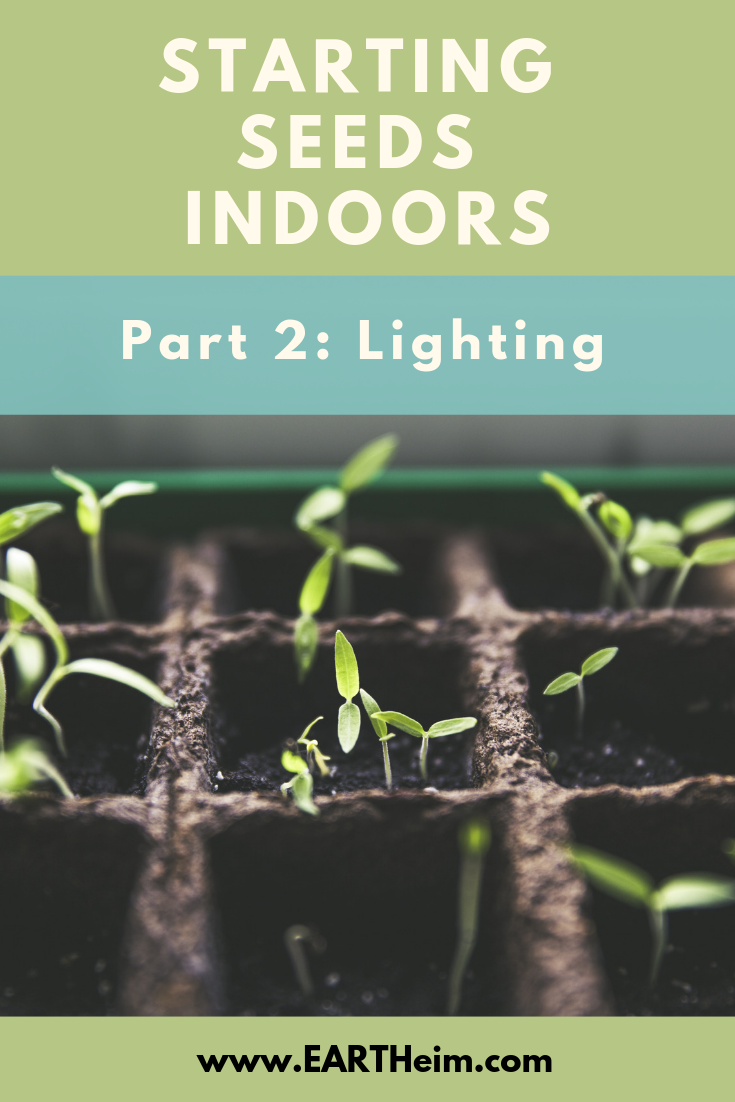
In this post I will cover lighting. It took a lot of research to figure out what type of lighting I wanted to use. I found some false information on the internet, which caused me to purchase lights and bulbs that I ended up returning. All the info online was confusing and made me think it was more complicated than it really is.
Rule #1. Use Grow Lights
Even the most sunny window alone cannot provide enough light that seedlings need. If you grow them indoors for any length of time, they’re going to get very leggy because they’re trying to reach for more sunlight.
If you’re only starting seeds to only let them sprout (only letting their seedleafs form) and then plan to put them outside right away, then you may get away with a very sunny window.
Takeaway: To start plants inside, you need grow lights!

Rule #2. Type of Light Matters
We all know there is a cool and warm end of the spectrum. We probably know this when we go shopping for light bulbs!
Plants utilize the cool and warm ends of the spectrum differently. Cool or blue waves are used by plants to grow. Warm or red waves are used by plants in order to flower.
To just grow plants for transplants, we only need the blue end of the spectrum (4000K color temperature). If you wanted the plants to flower, you would need full spectrum lights, which have a balance of cool and warm lightwaves.
You don’t need full spectrum bulbs or even special grow lights for seed starting.
Takeaway: To start seeds, you only need cool white light
Rule #3. Light Fixtures
I did a lot of shopping around. I considered cost, ease of use, size, and the kind of light it supplied.
My best recommendation is a 4′ shop light you can purchase at a home improvement store.
The shop light has more even light distribution over a tray of plants. You can certainly use a regular single florescent light bulb if it fits your needs! Do not use incandescent since they give too much heat, which we don’t want on the plants.
At this time, a regular 4′ florescent shop light is around $16 at Lowes. You will find them in sizes that hold either a T5 (5/8″ diameter lightbulb) or T8 (tube size 8/8″ or 1″ lightbulb). Either one works just the same, it just depends what you prefer as far as lightbulb size.
One thing to remember about florescent bulbs, over time they will dim. At a certain point, you’ll need to replace them before the bulb even goes out.
Save Energy
On the market these days are LED shop lights. This is what I purchased for around $22 each at a home improvement store (Lowes). Also available on Amazon. I chose these because they are very lightweight, put off enough light for what I need, inexpensive comparatively, use less energy, and I won’t have to worry about replacing bulbs. They also have hanging chains and an on/off switch.
Please note that regular florescent shop light fixtures cannot be fitted with LED tube light bulbs. From my understanding, the light fixture would have to be rewired in order to use a LED bulb in it.
Takeaway: Use 4′ LED cool white shop lights

Other Light Fixtures
You can find shorter light fixtures meant for aquariums or reptiles that can be fitted with full spectrum lightbulbs. I didn’t think they’d work for what I needed.
There are also all kinds of grow light fixtures on the market too. They’re also going to probably be full spectrum lights, which again isn’t needed for starting seeds.
However, there are some grow light kits out there, which may be a good option if you want an instant setup!
Rule 4: How to Set Up Lighting
Your setup should revolve around the grow lights you’ll be using. If you’re starting more than one tray of plants and using the shop lights, I recommend using a wire shelving rack. I already owned one and decided to use it, even though it is only 3′ wide. The 4′ lights fit on the rack just fine.
The wire shelving racks can be found at big box stores and online. You’ll find them in a variety of widths, depths, height, and number of shelves. They’re fairly inexpensive, can be taken apart when not in use, and take up much less room than spreading trays out on a table.
This one is on castors, which is a huge help! It can easily be moved out of the way or to clean around.
One reason I purchased the LED lights is because they’re very lightweight. The wire shelf isn’t very heavy and I didn’t want the heavy lights to weigh the thing down. The shop lights I purchased came with chains and S hooks so I just hooked the lights onto the rack!
I have seen people make light stands out of PVC piping or wood. This would work well if you were only using 1 grow light on a table. The wire shelf rack works well if you want to hang 3 or 4 lights.
There are also grow light systems out there which have the light and stand sold as a kit, such as this one from Jump Start.
Takeaway: Wire shelving racks work great!

Plugging in the Lights
I simply plugged the lights into a surge protector so I could just flip one switch. The directions said not to use timer devices with the lights. I had planned to use a timer, but decided not to since I didn’t want to take a chance with electricity. I have seen surge protectors with timers built in.
Where
I would still set your plants near a sunny window if possible. However, with the lights, you can set this up in a dark room or even basement!

Rule 5: How Much Light?
Begin using the lights as soon as you plant the seeds. This will help them germinate better. Let the lights run at least 12 hours each day. This is when a timer is handy if you want to sleep in, or go to bed early.
I have heard of people leaving on lights all the time, but I feel like plants need some darkness to sleep, just like us!
Takeaway: Keep lights on 12 hours

Height of the Lights
When you’re starting your seeds, you’ll have the humidity domes over top of them until they germinate. So, you can have your lights higher above the seedlings at that time.
Once the seeds germinate and you take off the humidity dome, you want to lower the lights to just a few inches above the plants. The S hooks on the lights made this adjustment really easy.
Takeaway: Adjust the height of the lights depending on what stage your plants are in
Lastly
You may have seen a fan in one of my photos! Once my seedlings started to get bigger, I turned on this fan for a few hours during the day. The wind will make them stronger and be better prepared to adjust to the outdoors. This one simply clips onto the wire shelf. Just be careful not to let the seedlings dry out.

This post originally appeared on http://www.EARTHeim.com. There may be links to products in this post. As an Amazon Associate I earn a commission from qualifying purchases made through these links. This is at no cost to you and you don’t need to do anything. All opinions are my own.