Some plants are easier to save seed than others. Tomato seed is easy to collect, but there are a few more steps to getting viable seed than just allowing the seed to try. Just follow these simple steps and you’ll be saving seed in no time!
Why Save Seed?
- Save the cost and time of buying new seed every year
- Knowing you can grow that variety next year
- Growing reliable varieties you know will perform
- Keeping heirloom seeds from becoming extinct
Although it’s a lot of fun going through seed catalogs and trying new varieties, buying seeds every year adds up in cost! I can put that money towards other things I may need for the garden.
Another reason to save seed is to keep that specific variety around for future growing. You never know when the seed source may not carry that variety anymore.
You may also have found the perfect variety and want to continue growing that same one.
Continuously harvesting seed also carries on that variety so that it doesn’t become extinct. This is especially true with heirloom seed varieties that may be rare.
Since plants cross-pollinate, by saving seed over long periods of time, you may end up breeding a unique variety unavailable anywhere else.
Hybrids & Heirlooms
It is important to note, that it’s not really possible to save seeds from hybrids. The seed may be sterile and the seed won’t be true to its variety. It’s all about the DNA due to the way that plant was bred. Grocery store tomatoes are likely to be hybrids. Research the variety before committing to saving its seed. Collecting seed from heirloom varieties is perfect!

Saving Tomato Seeds
Follow these easy steps to save tomato seeds to grow next year.
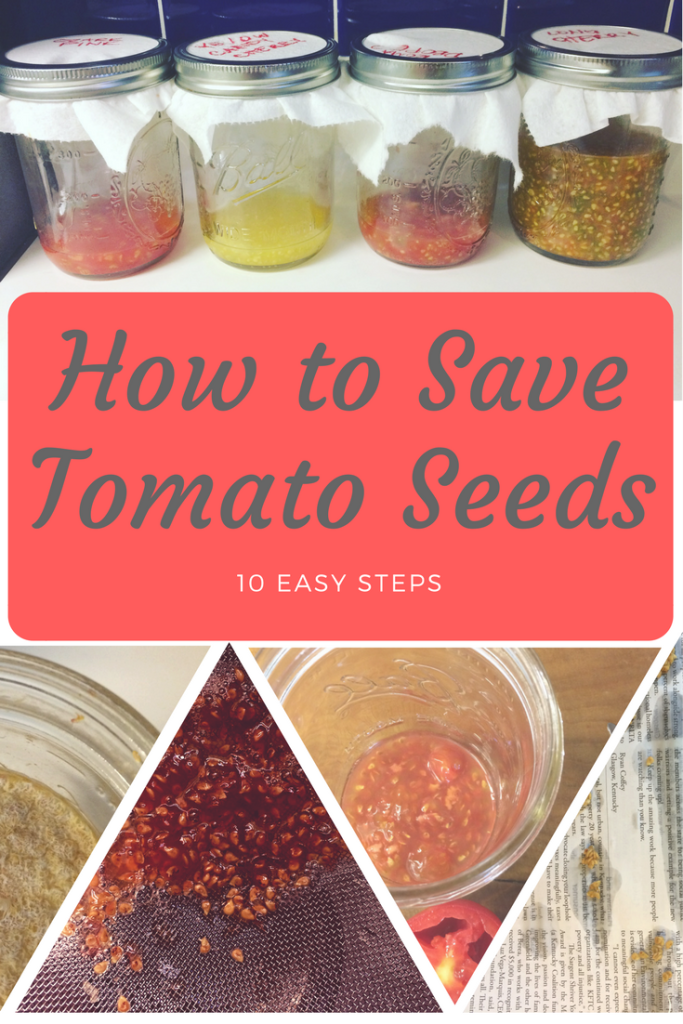
There are some extra steps when saving seeds from tomatoes. The reason is due to the gel around the seed, which is a growth inhibiter. The goal of this process is to remove the gel so we have seed that will want to germinate well. All this happens naturally outside, but then we’d loose the seeds. To breakdown this gel, we have to let it ferment.
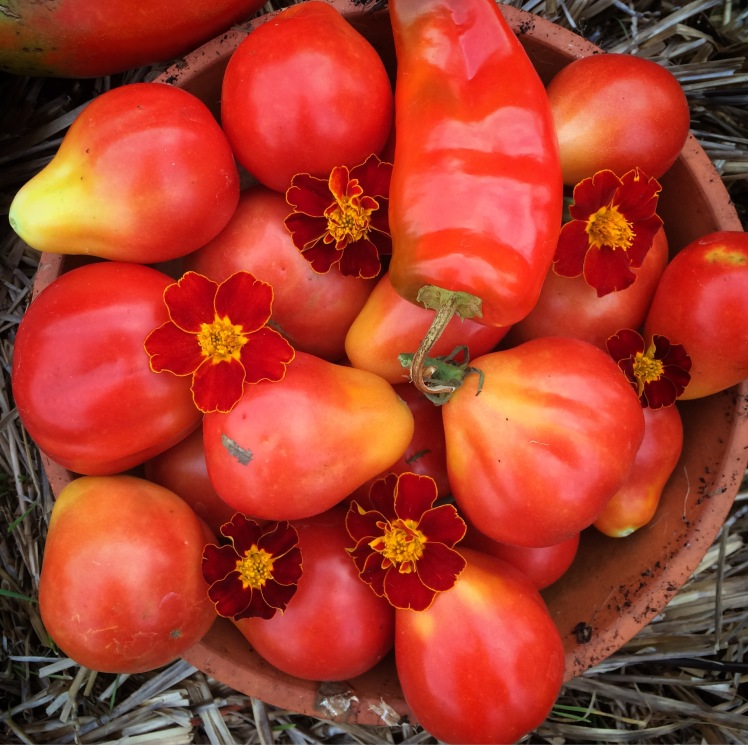
- Pick the best looking fruit that looks the tastiest. The seeds in this tomato will have the best qualities you want to continue on. You may pick fruit that is close or even a bit past its prime as long as it hasn’t molded. If you need to pick while unripe, allow the tomato to sit for several days.
- Cut the end off the tomato and squeeze the seedy pulp out into a jar. Eat the leftover tomato or use it to cook with.
- Add to the jar -half the amount of pulp- with water. Swish around to mix.
- Cover the jar with a paper towel and put put a rubber band around it to hold the towel in place, or screw on a canning jar ring. You want the seed pulp to breathe, but you don’t want fruit flies to get in there. Label.
- Set the jar out of direct sunlight, but in a bright airy place where you can watch it.
- Swish the pulp a couple times a day until you start to see a white colored mold. It may get stinky!
- One you see mold, add a bit more water. Allow to sit 1 or 2 more days. The gel and seeds will start to ferment.
- Hopefully the seeds will sink to the bottom. When you’re ready to get the seed, skim off the mold and discard. Rinse the seed mixture well in a fine mesh strainer.
- Get a tray or baking sheet and line it with newspaper. Space the seeds out on the newspaper, trying to not leave them in clumps. Allow to completely dry for a couple days. Break up any clumps as best as possible.
- Store in breathable paper envelope. If you are for sure the seeds are dry, you can store in a sealable container.